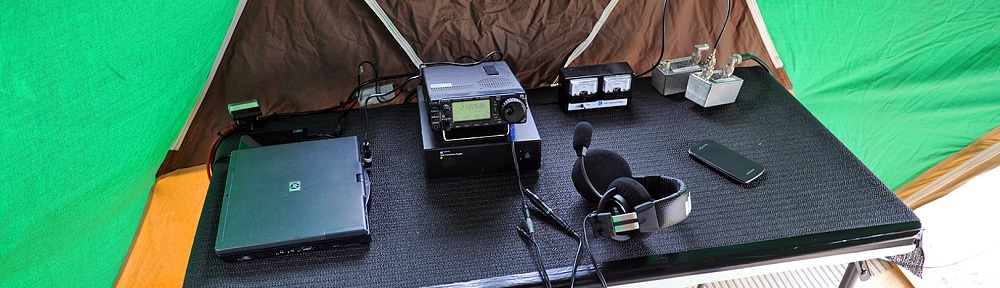
Usually I don’t bother making intricate front panels for my projects, but this reference just didn’t look right. At the front are two LEDs one for power and the other displays when the module achieves the atomic lock. On the rear is a SMA connector for the output along with power.
So for this project I decided to make a front panel, this Rubidium has some bragging rights after all. I’ve read a few blogs recently that suggested using a printable sticky label covered by one half of those non-heated laminate pouches. So a quick trip to the office supplies shop saw me come home with some Avery labels that take up roughly half a (A4) page and some pouches that are also sticky.
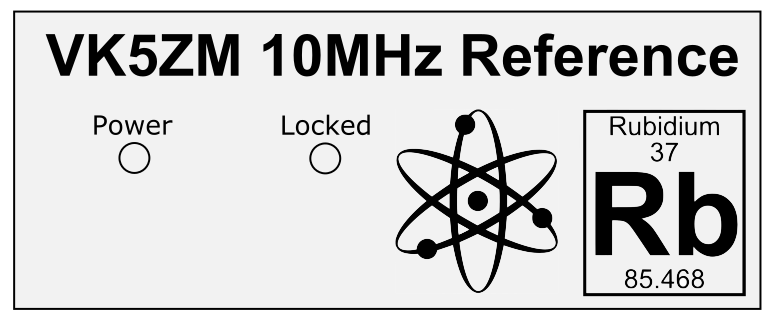
Not having any vector/raster tools on this computer saw me install Inkscape for the first time. I’m impressed, it wasn’t hard for the first time to use many of the functions your looking for are easily found. So the label I knocked together is below;
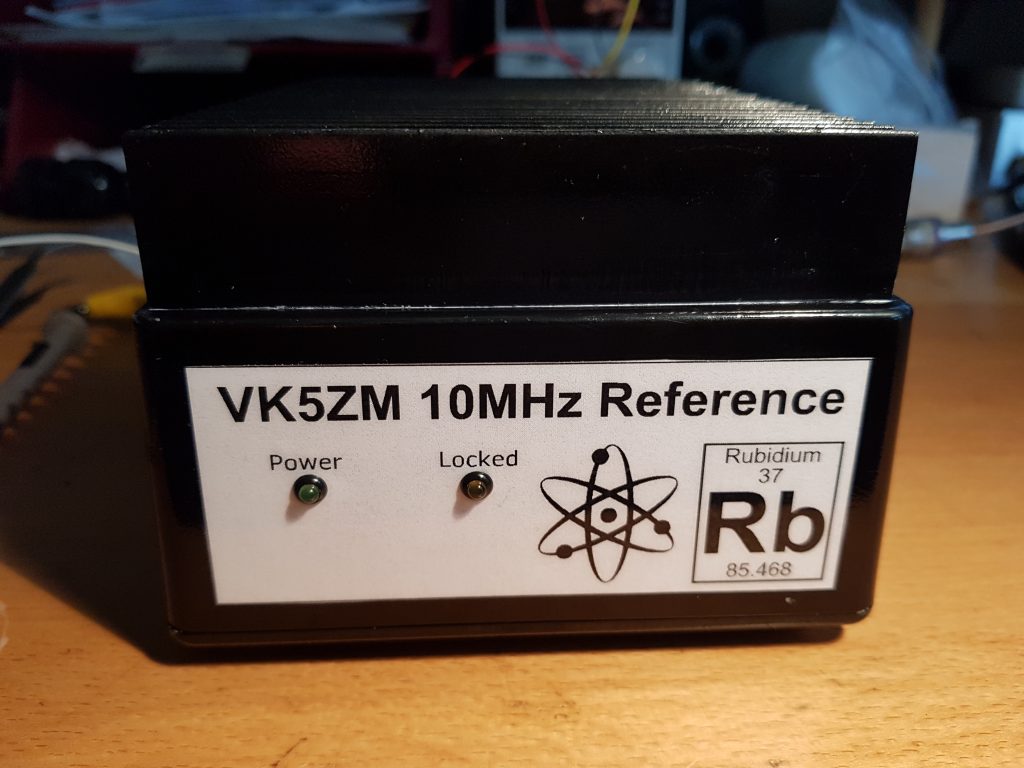
So through the laser printer it went and then laminated. A scalpel made quick work of the holes for the LED bezels. Then using two drills through the holes for alignment the label was carefully lowered onto the front panel and then pressed firmly but slowly onto the surface to prevent air bubbles. For those that were forced to contact their books for school would be well training in the appropriate technique, otherwise hit the scrap booking blogs and websites.
So here’s the final result;
I’ve since shown this to one of my fellow club members and he’s suggested next time I put a 2D bar code that links you to either Wikipedia or YouTube that then explains what a rubidium reference is. I could even refer them back to this blog… Hmm… I’m going to have to try that one day !
For now however my Rubidium reference has a front panel that says it’s all mine and explains the LED’s. I’m certainly happy with the result.