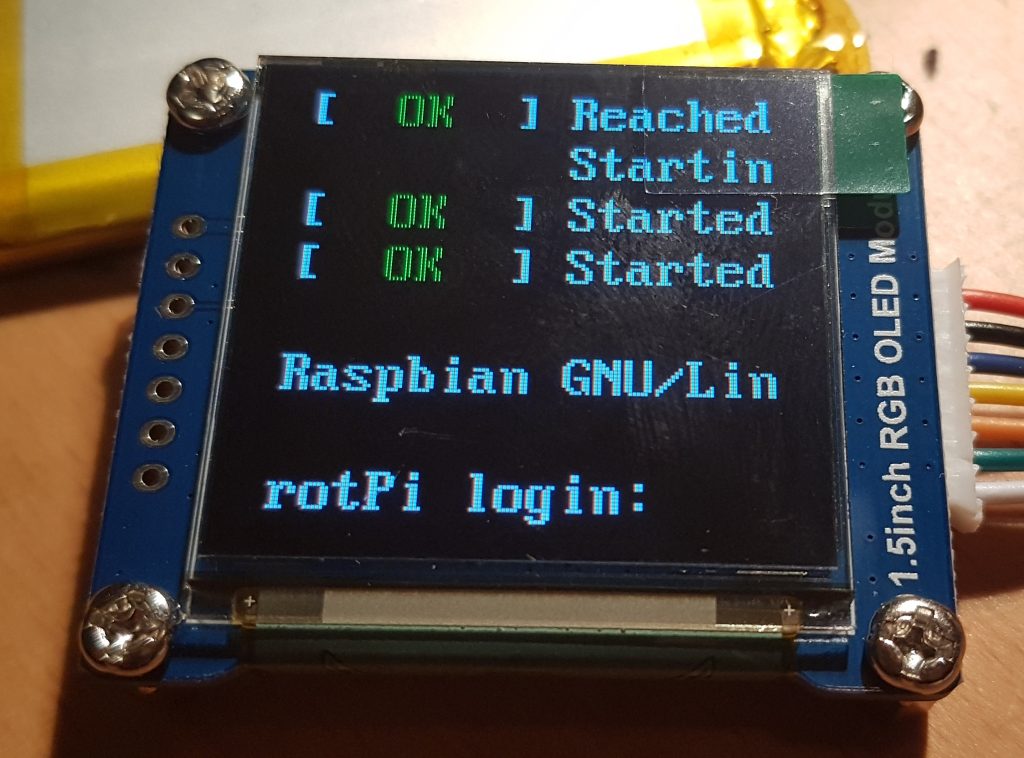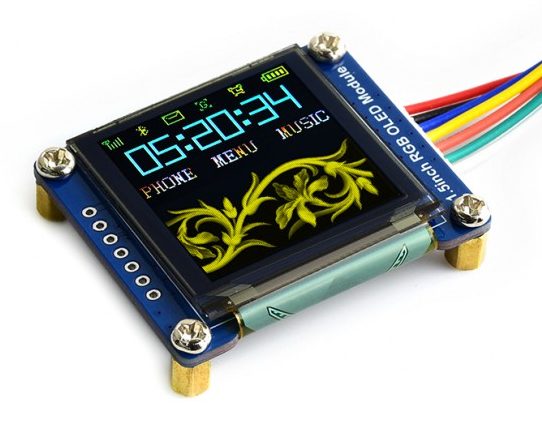
After having woken up my small 128×128 OLED display I was wondering how to get it to start automatically each time my rPi booted rather than having to log in and run the commands manually.
It turns out this is rather easy and just required me to edit two files. I’m also glad that these Waveshare OLED displays are effectively compatible with the Freetronics OLED 128×128 graphics display. A big thanks to the Freetronics team for making this driver available for SED1351 chip sets.
So I created the following file with my favourite editor (as root) /etc/modprobe.d/fbtft.conf with the following contents;
options fbtft_device name=freetronicsoled128
What this effectively does is tell the system how to configure the fbtft_device as it boots, much like if we started it with modprobe from the command line i.e used the following command;
sudo modprobe fbtft_device name=freetronicsoled128
So now the system knows how to configure the driver, we need to tell modprobe to load it by placing an entry in the /etc/modules file. So using your favourite editor (as root) edit /etc/modprobe and append the last two lines.
# /etc/modules: kernel modules to load at boot time.
#
# This file contains the names of kernel modules that should be loaded
# at boot time, one per line. Lines beginning with "#" are ignored.

i2c-dev
spi-bcm2835
fbtft_device
It appears that the SPI bus is a little slow to load if it’s called as a dependency of fbtft_device, which is a classic chicken and egg driver problem. So by starting it manually we make sure it’s available by the time the fbtft driver tries to do anything.
The i2c-dev entry in the same file fires up the i2c bus and was already pre-configured in my system by raspi-config way back when. I’m using it in my project, YMMV. All that is left to do is test it, so reboot and login and run the following command;
$dmesg | grep graphics
We should see something like the following;
[6.128978] graphics fb1: fb_ssd1351 frame buffer, 128x128, 32 KiB video memory, 4 KiB buffer memory, fps=20, spi0.0 at 20 MHz
That tells us that the little OLED display has registered as /dev/fb1 and that it’s ready to go. You can use the con2fbmap trick in my last post to test it’s working.
Now to work out how to get it to throw up an image on boot…

